Table of Contents
Burp Suite
Configure Burp Suite with Firefox FoxyProxy
1: Download the FoxyProxy extension for Firefox.
Download link: https://addons.mozilla.org/en-US/firefox/addon/foxyproxy-standard/

2: Open the Firefox Settings.
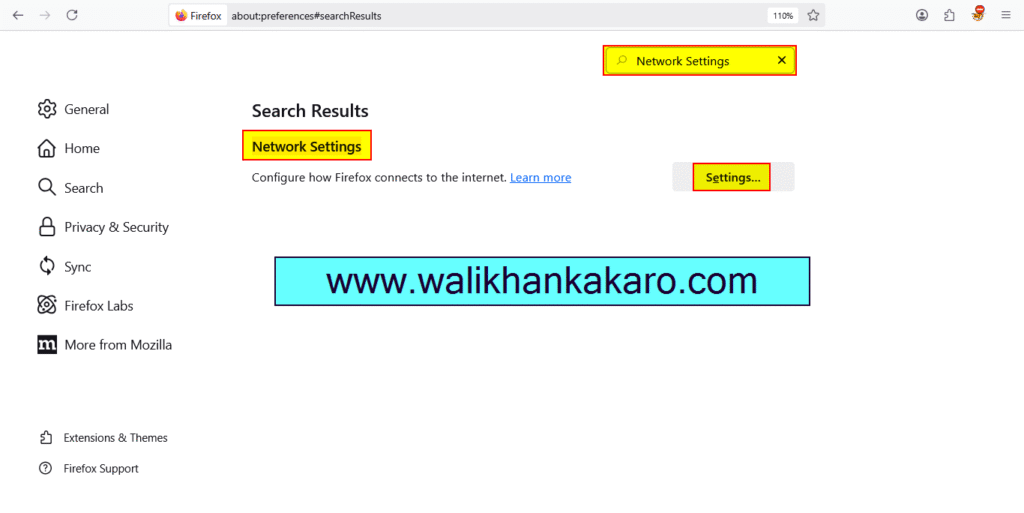
3: Open the Connection Settings and set up the FoxyProxy settings.
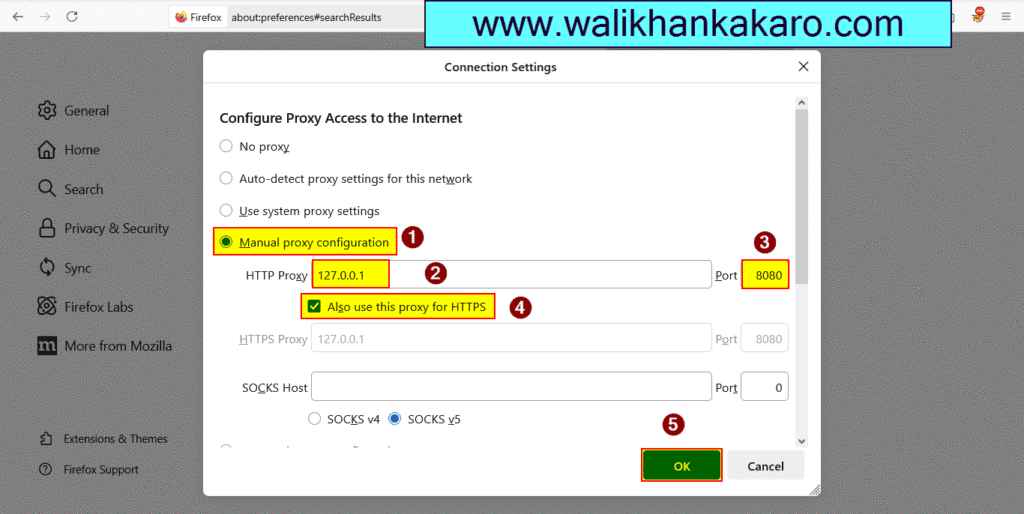
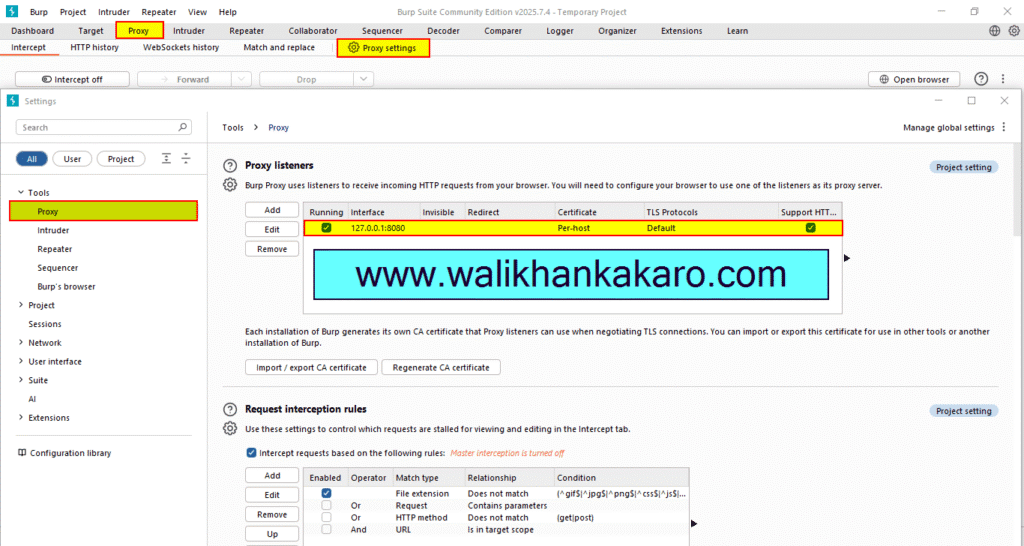
4: Also configure the same settings in the Burp Suite proxy settings.
5: Software is Preventing Firefox From Safely Connecting to This Site.
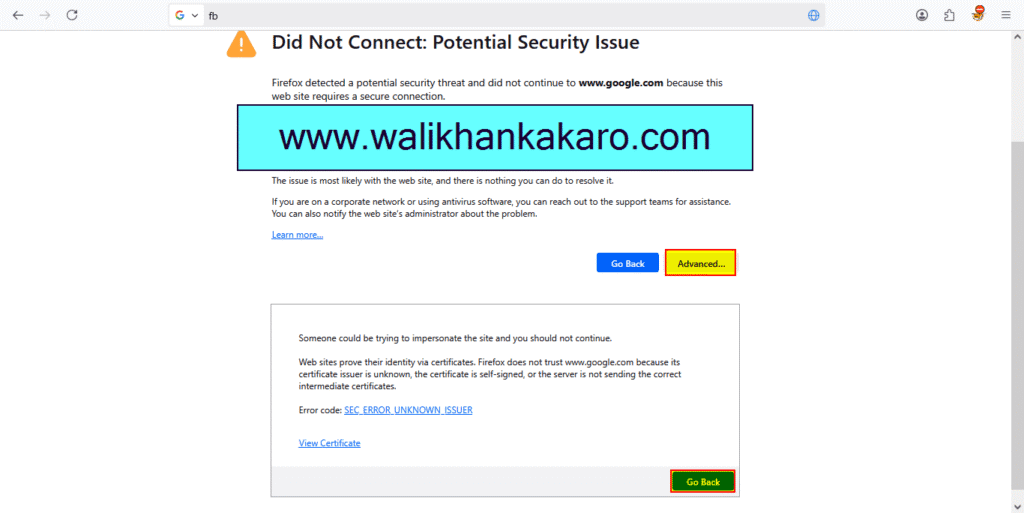
6: Download the CA Certificate.
Download link: http://burp
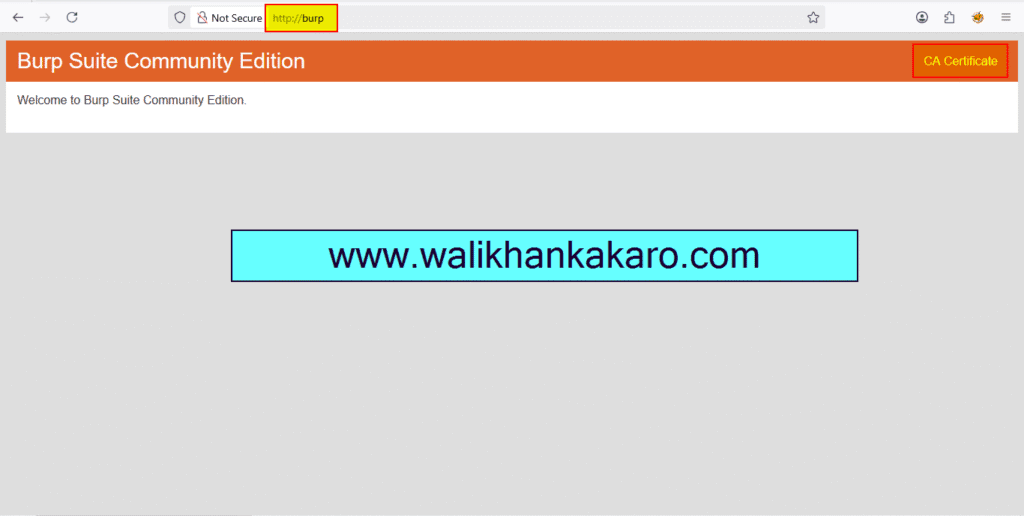
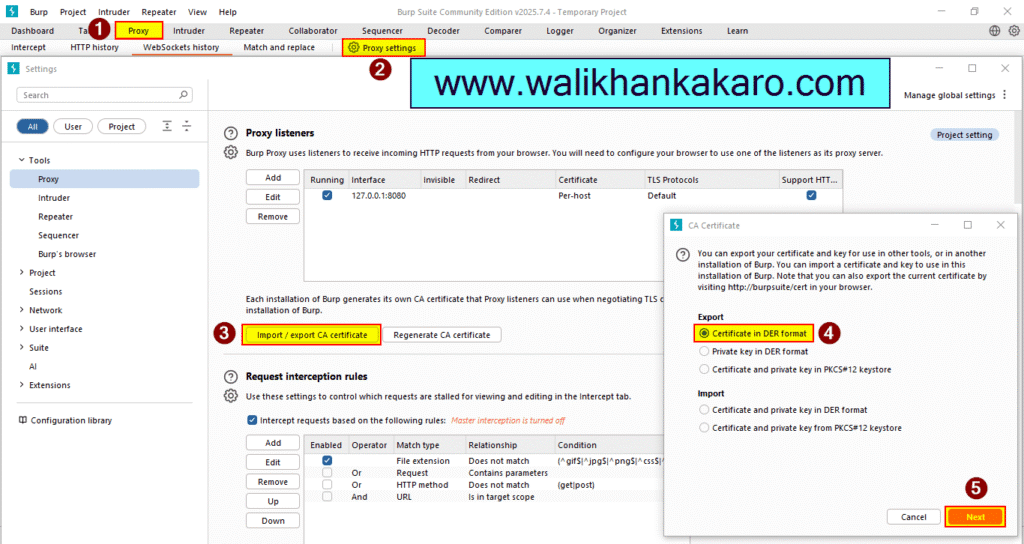
7: Go to the Burp Suite Community Proxy, then open the proxy settings and export the CA Certificate.
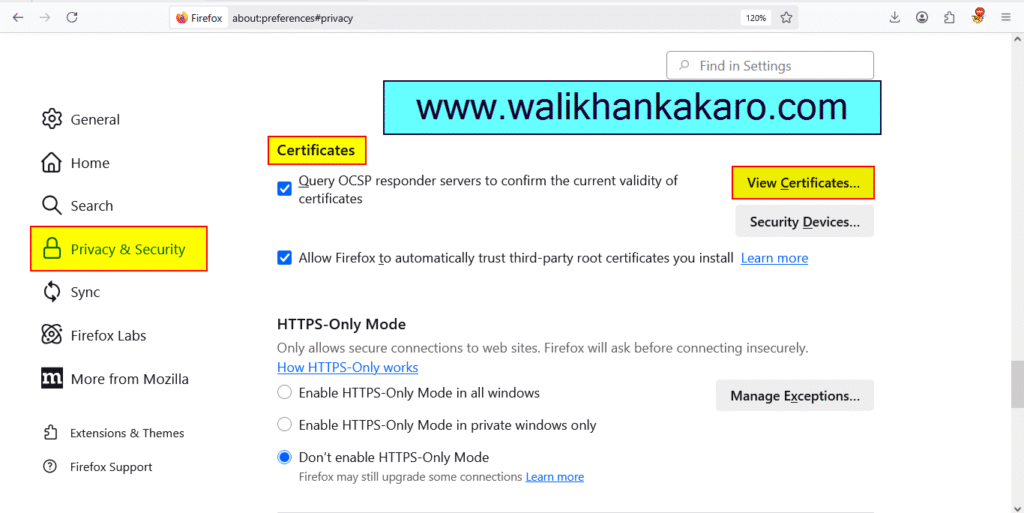
8: Open Firefox and go to Settings – Privacy & Security – View certificates.
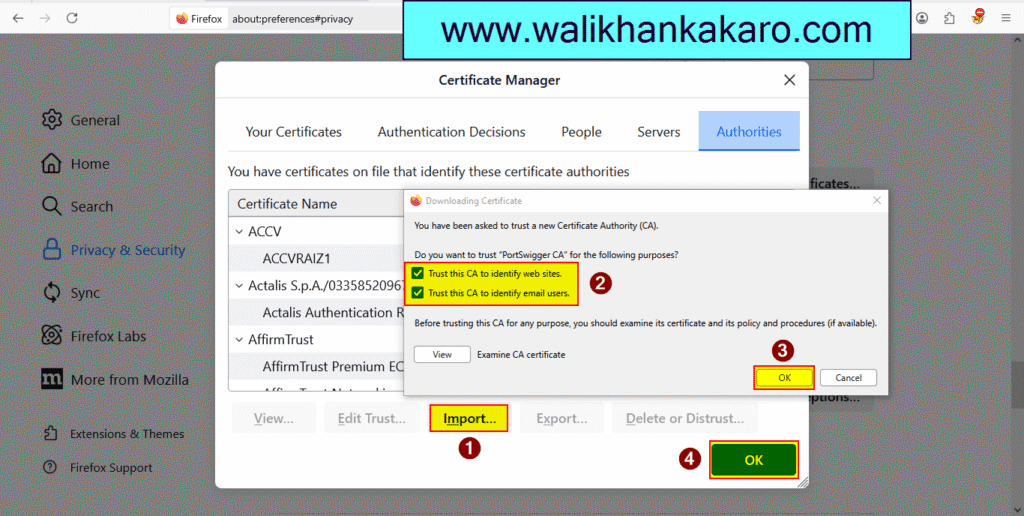
9: Export the downloaded CA Certificate.
10: Mark both of them.
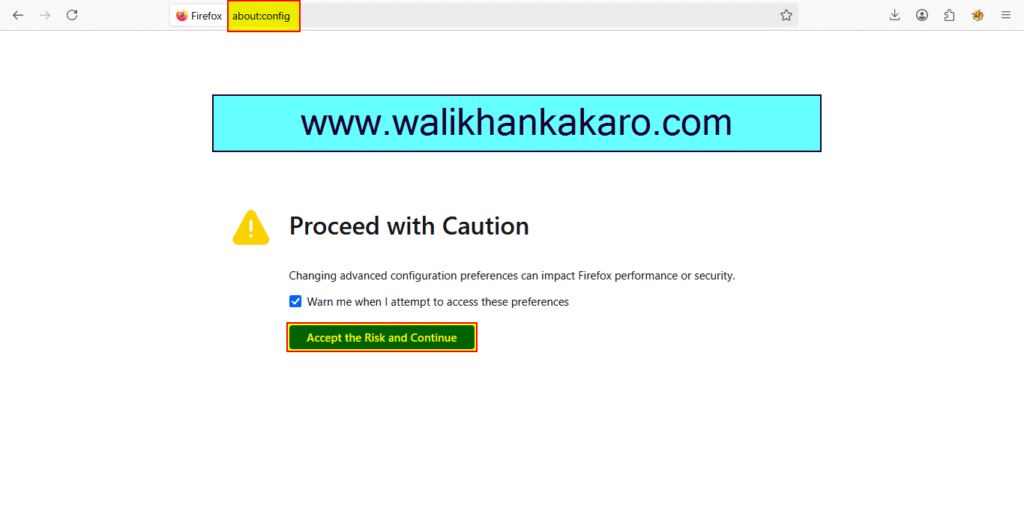
11: Browse the about:config in Firefox.
Command: about:config
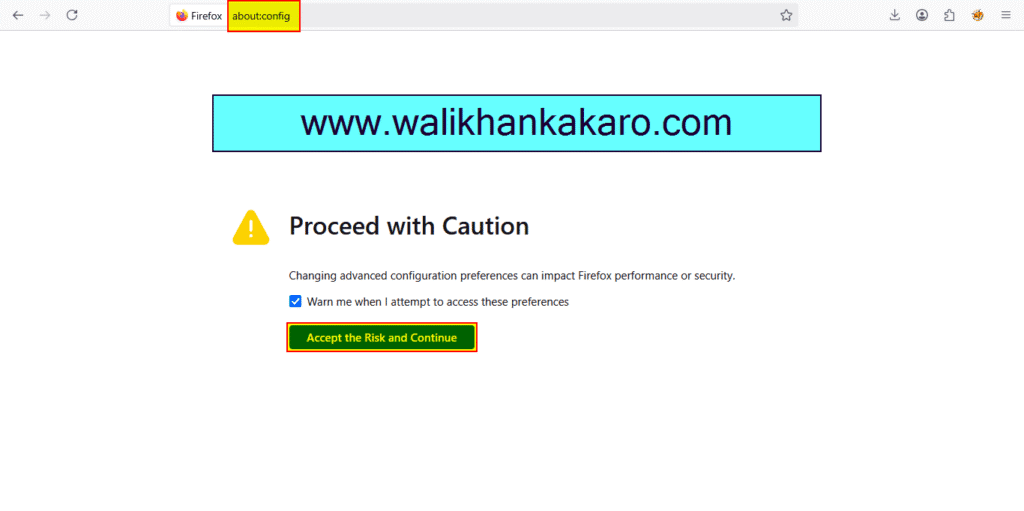
12: Accept the Risk and Continue.
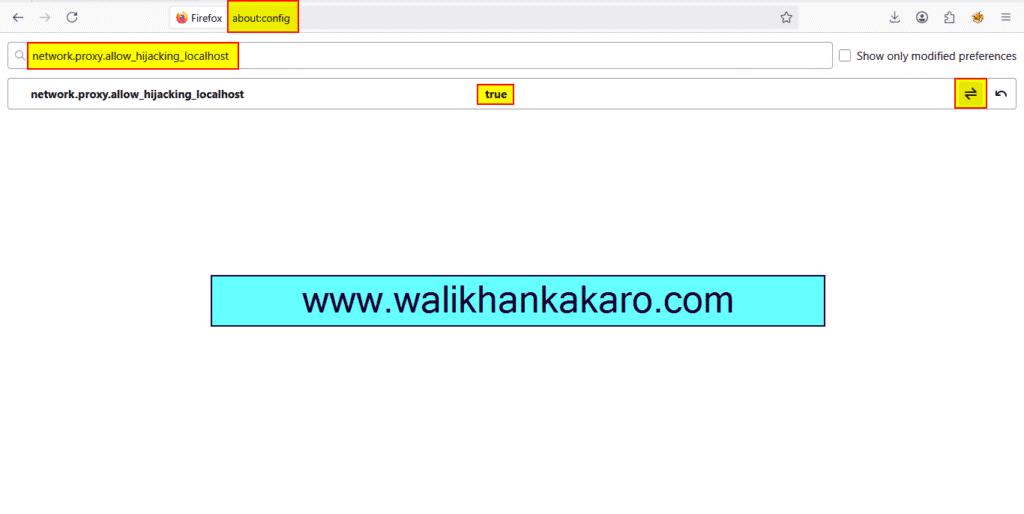
13: Search network.proxy.allow_hijacking_localhost and make them true.
Sign: True
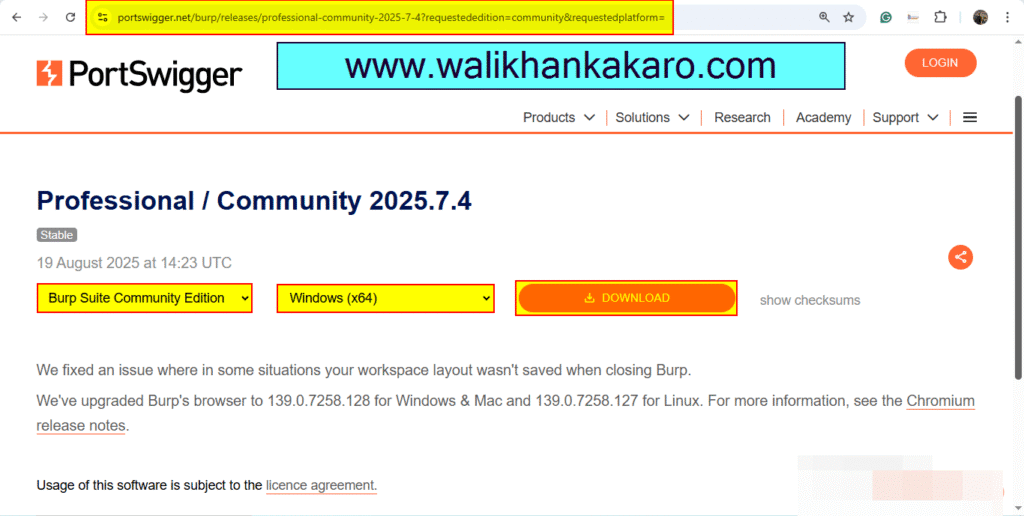
Burp Suite download for Windows
1: Download the Burp Suite Community Edition.
Website: https://portswigger.net/burp/communitydownload
2: Install the Burp Suite Community Edition.
3: Open the Burp Suite Community Edition.
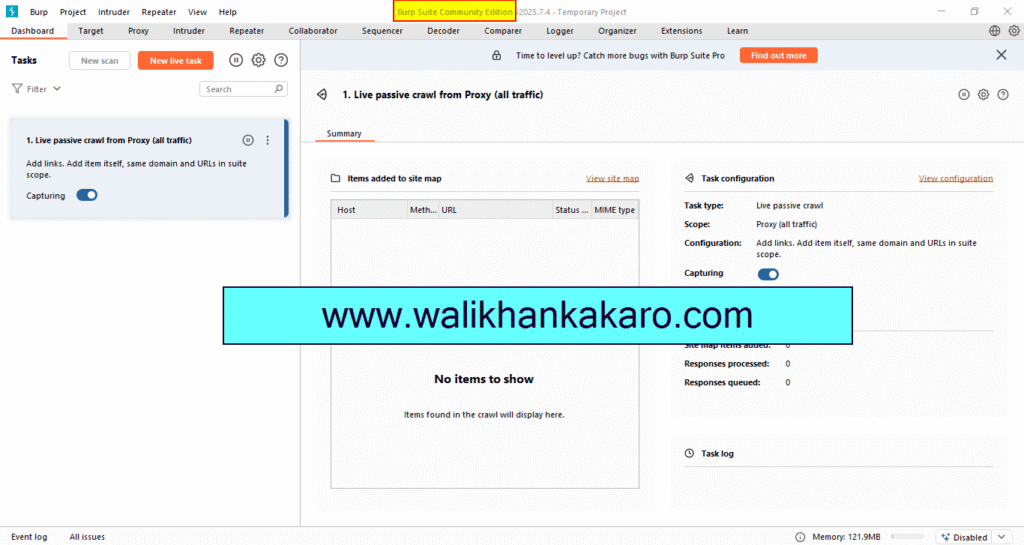
How to configure Burp Suite with Chrome
1: Download the Foxy Proxy extension.
Website: https://chromewebstore.google.com/detail/foxyproxy/gcknhkkoolaabfmlnjonogaaifnjlfnp

2: Go to the Foxy Proxy Options.
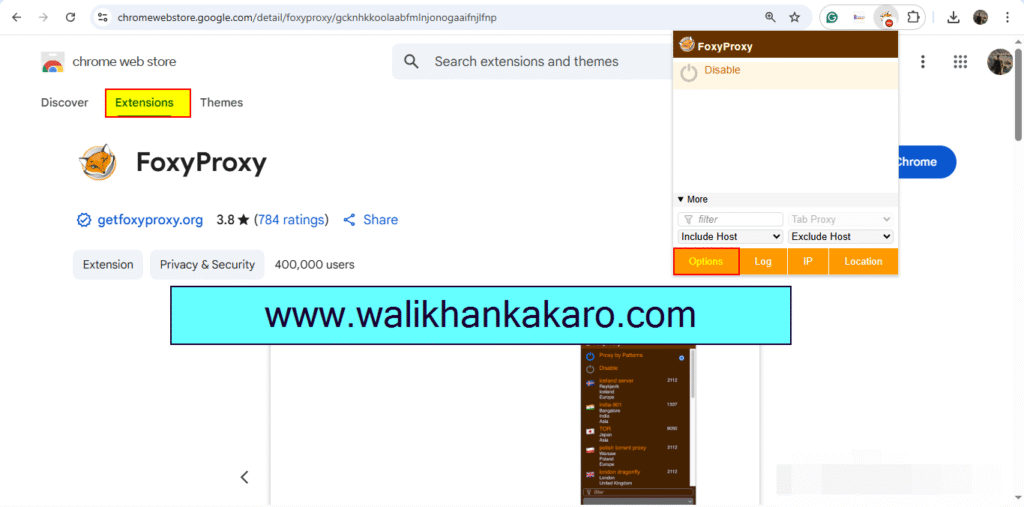
3: Then, go to the Global settings and then go to the Proxies.
4: Add the New Proxy.
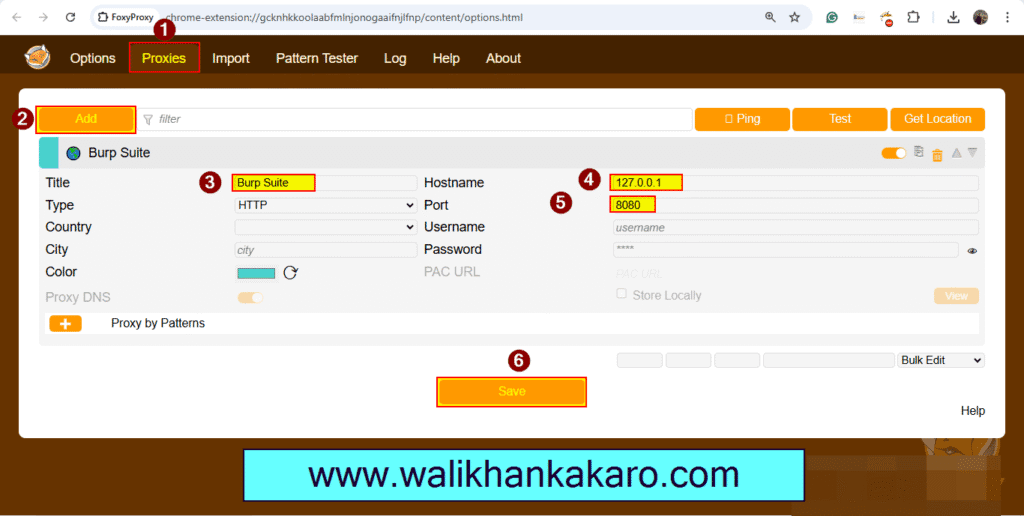
6: Select the Burp Suite.


